

HNJ1N
-
Posts
53 -
Joined
-
Last visited
Never
Content Type
Forums
Blogs
Events
Downloads
Gallery
Membership & Shop
Posts posted by HNJ1N
-
-
Team BRIT, standard mk1 saloon
-
The 1966 Mk1 m o/d is probably good to go right now
 .
.
It's completely standard mechanically but i will probably fit the Recaro seats and inertia seat belts for a bit more long distance comfort and safety.
I'll also fit a rear belt as we will,in all probability, be running a three man crew
cheers,
Laurence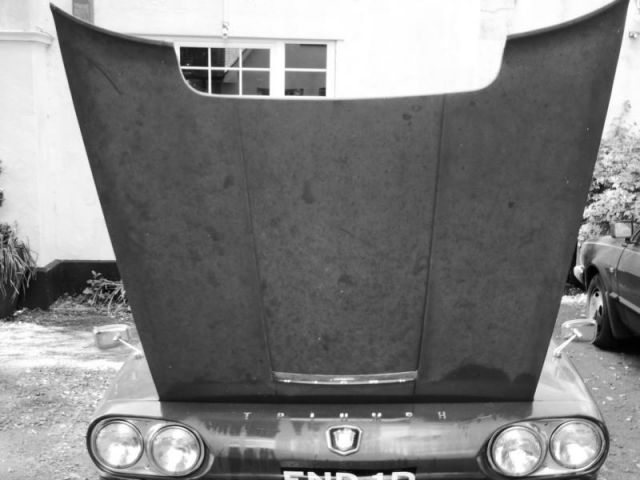
-
All,
I'm in the process of stripping car in prep for the new paint.
Following the manual i am at the point of removing metal vent and mesh grill on top of dash board just in front of screen, the side and corner pieces are out as is glove box and ashtray,according to manual should be six nuts holding vent in place,got the first two out any idea how the other four are accessed in particular the two in front of steering wheel.
I've stripped door cards out but i'm stuck with the window weather strips, i don't want to damage them , any ideas how to remove?.
Thanks in advance,
Laurence -
what you say Colin is logical but i check said nuts on a regular basis and so far they have remained tight, but i will keep a close eye on them!,
cheers,
Laurence -
Powder coating is more resilient than it used to be,according to the people that did mine, certainly they have been fine over the past two years and 6k miles.
The tricky bit is when it comes to tightening the nuts and the balancing weights,- its worth finding a sympathetic tyre person who is prepared to put a bit more time in and a lot more care than usual. It is possible to tighten the nuts without damaging the powder coat but again needs care.The weights should be the stick on variety and placed on the inside of the rim, avoid clip on weights, they will chip the powder coat.
From memory TR5 steel wheels with the 3 pips for the rostyle trims are 4.5 inch, TR6 were 5.5 and latterly 6inch,
cheers,
-
Thankyou for digging out the part number Colin, it matched on the site Dave kindly recommended.
I have a modest account with Woolies, i bought sound deadening from them in the past, but again, thankyou Tim for the pointer.
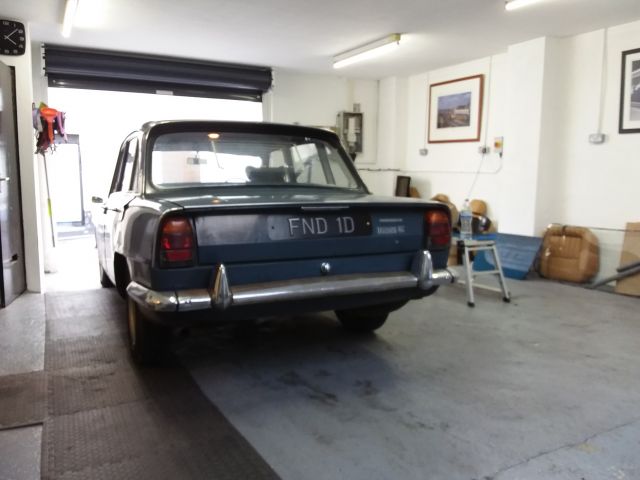
All being well UUR1E will be ready for next years RBRR, i'm pleased to have kept the car running during the prolonged body work restoration.
The gearbox needs a little attention, specifically the synchro on second gear,-bit crunchy, tho its smooth engaging the other gears . Attached is a photo of the car when it arrived in Torquay, christmas eve 2013,
cheers,
Laurence -
Thanks for coming back Colin.
Have you any idea where i can get replacement floor studs from?.
I do have the sound deadening,-a sort of beige coloured cotton wool material in plastic bags.
Likewise i have the brackets that fix in the front foot wells and secure the carpet,
cheers,
Laurence
-
All,
I,m in process refitting the interior of my project car but have noticed that a number of the floor studs, used to attach the carpet are missing. More of an irritation than a major problem but i would like to reattach all the original carpets, which are in good nick, after a thorough clean. I attach photos to illustrate and if anyone has an idea of where i can get the studs and there location in the floors including the boot that would be good,
cheers,
Laurence -
Think the M3 is being converted into a smart motoway
 ,something to look forward too Nick,
Cheers,
Laurence -
Think the M3 is being converted into a smart motoway
,something to look forward too Nick,
Cheers,
Laurence -
A big thank you to all the organisers, a great job with fantastic driving especially in Slovenia .The route was tough at times but the car and my navigator survived well ,a total of 2200 miles door to to door.
Best wishes to all,
Laurence and Yuliya -
Plus 1 for fire extinguisher location .After the alternator fire in march I had the replacement extinguisher located in front of the passenger seat for a bit of peace of mind ,at least.
The semi sport CW back box now fitted for a slightly quieter exhaust note,should keep my navigator happier 😉.
The webers have been checked and after a change of emulsion tubes appear to be delivering a smoother power band.Boot loaded with the essential items - coil, points,hoses,plugs, selection of tools, fuses,wire,gaffer tape,tow rope, bulbs etc.
Heading for Dover tomorrow with an overnight stop off in Rye with,hopefully, a stress free 35 mile drive to port for the 10 am sailing..
Cheers
Laurence -
Only take the spare parts that you can fit yourself,no point taking a boot load of stuff and not having a clue how to fit it.Make sure the spare is fit for purpose before leaving and have a tin of that inflator aerosol for punctures if not taking a spare,
Cheers,
Laurence -
Good news,-the people who are behind/own Tebay services are also running the new services on the M5 in Gloucestershire, having visited recently, i would strongly recommend it,
cheers,
Laurence -
Good news,-the people who are behind/own Tebay services are also running the new services on the M5 in Gloucestershire, having visited recently, i would strongly recommend it,
cheers,
Laurence -
Looks sharp :)
-
Well, the Mk1 is back and looking as good as ever.
The engine bay wiring was largely replaced and tidied up generally together with a new alternator. The consensus opinion confirms a failure of the alternator that caused the fire. The car would have been toast, according to the auto electrician, without the battery cut-off switch being activated .
The engine bay still looks a bit rough and probably needs a repaint etc, probably a winter project in the meantime i will be making sure everything is good to go for the 10'CR. Attached photo gives an idea of the state of play,
cheers,
Laurence -
Colin,
I fitted Mr Shackfords engine mounts on my Mk1, he of Shacktune fame, and they really do work,- 10k thus far without problem. Not cheap, but they are a fit and forget item,
cheers,
Laurence.
ps googling 'shacktune' should get you to his ebay site,
-
Tim,
The bumperless look on a Mk1 works well, imo. The bumpers are good for v slow speed nudges but probably cause more problems than they solve in harder shunts. A few photos attached to help your decision,
cheers,
L -
Matt,
The 5 limped back home from Pompey on the sunday and will be going in for an assessment tomorrow, i suspect burnt exhaust valve but i'm not complaining after eight years and 45k miles of hard use,-the 5 will be back!.
Tim,
An engine bay rewire and a few electrical upgrades should do the trick with the Mk1. Your car runs well and felt more than capable of doing 10'CR as is!, still plenty of time to deal with details ;),
cheers,
L -
The Mk1 is now back in sunny Torquay :), its taken longer than i expected ,but Easter was a delaying factor. Car seems cleaner than when i left it in Germany, certainly no damage in transit, tomorrow the damage can be properly assessed, will update accodingly,
cheers,
Laurence -
don't tempt me Phil ;), anyway, just had confirmation that they will transport it back to UK in the next week ,
cheers,
Laurence -
I am still waiting to hear what the recovery arrangements will be.., all being well they will deliver it back in 1 piece to Torquay, but a plan b to have the car sorted in Holland might be an option,
cheers,
Laurence -
Near Magdeburg Theo,about 50kms west, just off the E30. It did occur to me have the car fixed in Germany but lack of local knowledge is a problem,
cheers,
Laurence
Lets see those cars!
in Round Britain Reliability Run (RBRR)
Posted
A bit of engineering art is always good therapy Nic,Class 52 Westerns, powered by twin Maybach 12 cylinder engines in a variety of south Devon locations,
Cheers,
Laurence